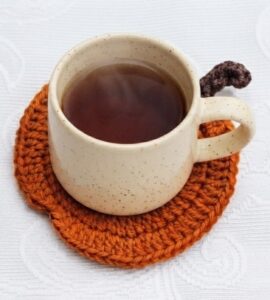
Bring a little handmade fall charm to your table with this easy crochet pumpkin coaster. This cute pumpkin is quick to make and is perfect for autumn coffee tables, Thanksgiving decorating, fall parties, or simply adding a cozy seasonal touch to your home.
The pumpkin can be crocheted in traditional orange, but don’t be afraid to experiment with other autumn colors. Golden yellow, earthy red, green, cream, aqua, and even soft neutral shades can create completely different looks.
Why You’ll Love This Pumpkin Coaster
- Quick and beginner-friendly project
- Great for using leftover yarn
- Perfect for fall and Thanksgiving decor
- Easy to customize with different colors
- Makes a cute handmade gift
- Can be made into a small pouch or coin purse
Materials You’ll Need
- Worsted-weight yarn in orange
- Small amount of brown yarn for the stem
- Crochet hook suitable for your yarn
- Yarn needle
- Scissors
- Optional: Use cotton yarn if you want your coaster to be more practical for everyday use.
Crochet Abbreviations – US Terms
ch – Chain
dc – Double crochet
hdc – Half double crochet
sc – Single crochet
sl st – Slip stitch
st/sts – Stitch/Stitches
inc – Increase (2 stitches worked into the same stitch)
sl knot – Slip knot
R – Round
How to Crochet the Pumpkin Coaster
Step 1:
Crochet the Pumpkin Body
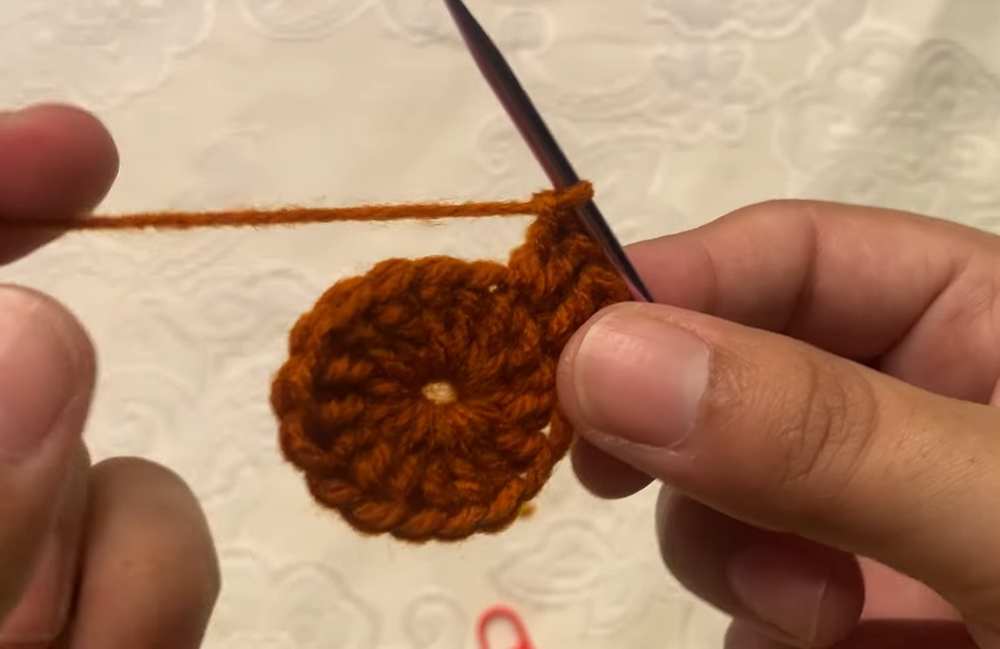
Begin with your orange yarn and work the center of the pumpkin in rounds.
Keep your stitches fairly even as you work. The coaster should gradually form a flat, round shape rather than curling upward.
Round 1 (R1)
Start with a magic ring.
Work the required double crochet stitches into the ring and pull the center closed.
Join with a sl st to the beginning of the round.
Round 2 (R2)
Chain 2.
Work double crochet increases around the round so the circle grows evenly.
Join with a slip stitch.
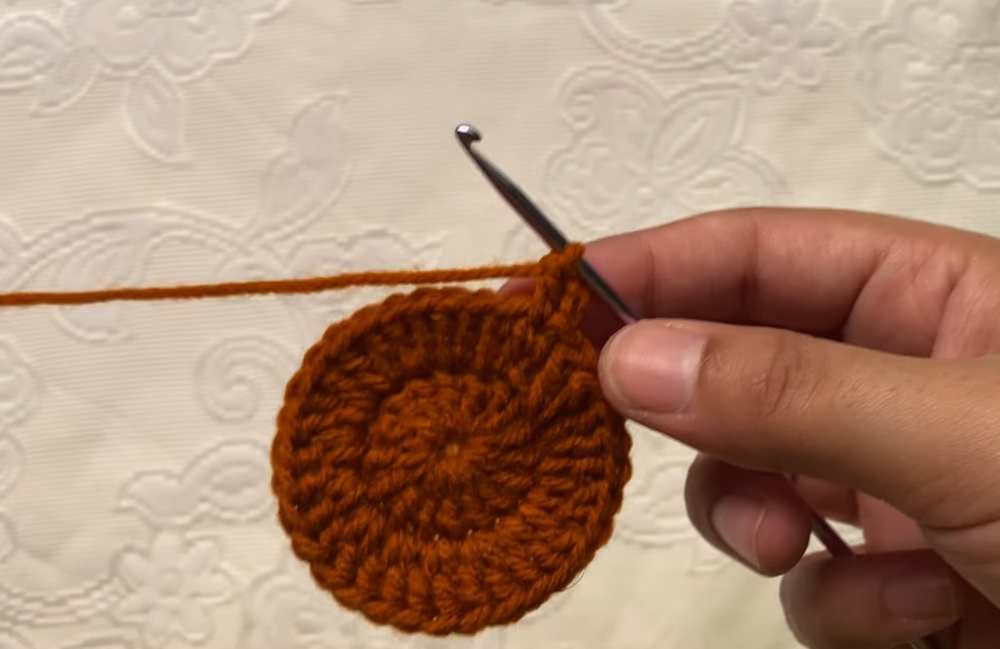
Round 3 (R3)
Chain 2.
Continue increasing evenly around the round to create the flat pumpkin shape.
Join with a slip stitch.
Tip: Lay your work flat after each round. If the coaster begins to cup, your tension may be too tight. If it becomes wavy, you may be adding too many increases.
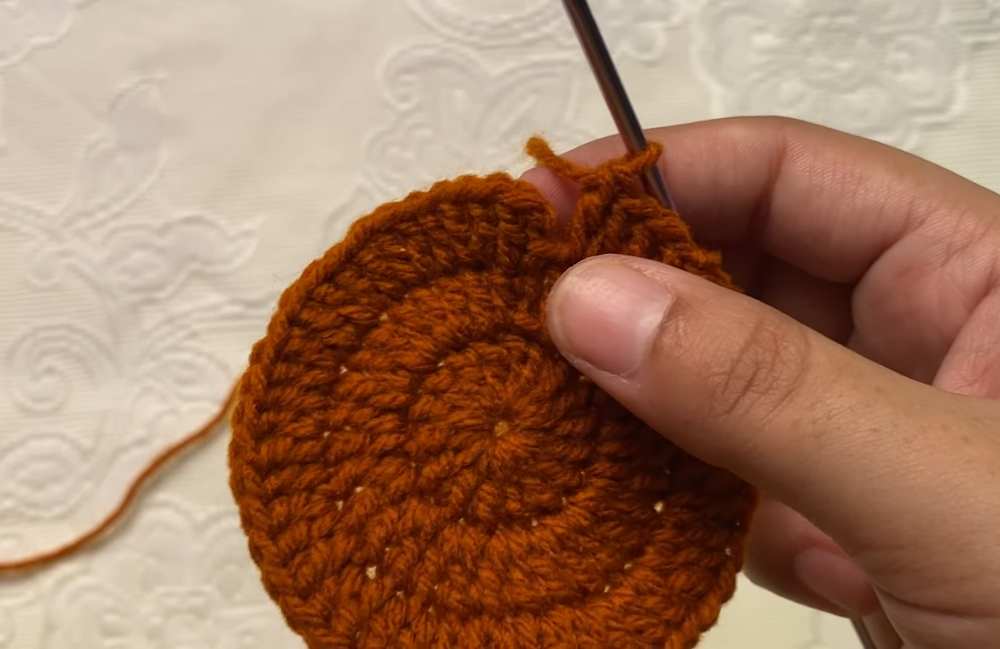
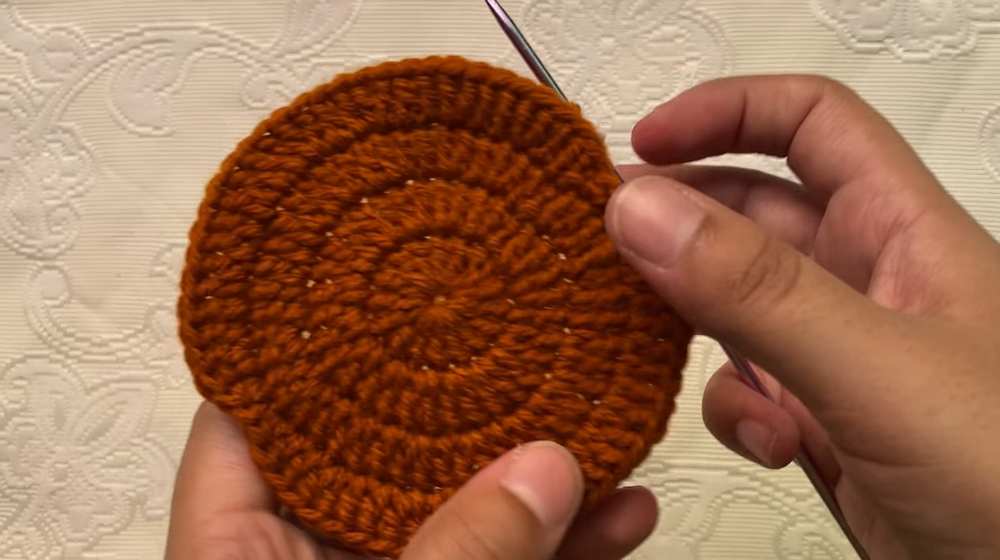
Round 4 (R4) – Creating the Pumpkin Shape
This final round gives the coaster its gently scalloped pumpkin outline.
Instead of making the edge perfectly circular, use a combination of dc, hdc and sl st to create small dips between the pumpkin sections.
Work the stitches evenly around the edge, repeating the same shaping pattern around the pumpkin.
The slip stitches create the deeper sections between the pumpkin’s rounded lobes, while the hdc stitches help soften the curves.
When you reach the beginning of the round, join with a slip stitch.
Fasten off and weave the yarn end securely into the back of the coaster.
Pattern note: The original instructions for this round contain a stitch-count mismatch, so the exact Round 4 sequence should be checked against the original tutorial/video before publishing it as an exact stitch-by-stitch pattern.
How to Crochet the Pumpkin Stem
Now it’s time to add the little brown stem.
Step 1
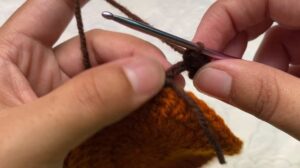
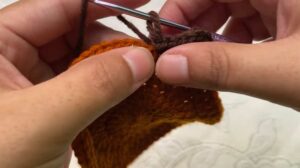
Make a slip knot with brown yarn and attach it to the top center of the pumpkin.
Step 2
Chain 5.
Working back along the chain:
In the second chain from the hook, work 2 sc.
In the next chain, work 2 sc.
Work 1 sc in each of the remaining two chains.
You should now have a small curved stem.
Step 3
Make a sl st into the same area where you attached the brown yarn.
Fasten off and weave in the ends. Your pumpkin stem is finished
Fall Color Ideas for Your Crochet Pumpkin
Orange is the classic pumpkin color, but you don’t have to stop there.
Try making your pumpkin coasters in:
🧡 Burnt orange
💛 Golden yellow
🤎 Warm brown
❤️ Earthy red
💚 Olive or sage green
🤍 Off-white or cream
🩵 Soft aqua
For a pretty fall table setting, you could make several pumpkins in different shades and mix them together.
Turn Your Pumpkin Coaster Into a Mini Pouch
Want to make something different?
Crochet two pumpkin pieces and place them together. Sew around the edges, leaving an opening at the top.
Add a zipper, button, snap, or drawstring closure.
You can use the finished piece as a:
Mini coin purse
Small gift pouch
Earbud pouch
Jewelry pouch
Fall-themed decoration
Just remember that a coaster made from one piece will be flatter, while a pouch requires two pieces.
Tips for Making a Beautiful Pumpkin Coaster
- Keep your tension consistent
- Try not to crochet some rounds tightly and others loosely. Consistent tension will help your pumpkin keep its shape.
- Check your work after every round
- Place the coaster on a flat surface. If it is curling or becoming very wavy, check your stitch count and tension before continuing.
- Use cotton yarn for coasters
- Cotton is a practical choice for table coasters because it is durable and handles everyday use well.
- Hide your yarn ends properly
- Always weave your ends securely into the back of the coaster. This helps prevent the project from coming undone with use.
- Make several at once
- This is a great project for using small amounts of leftover yarn. Make a set of four or six pumpkins in coordinating colors for your fall table
Common Mistakes to Avoid
My coaster is curling.
Your tension may be too tight, or you may not have enough increases. Check your stitch count and try a slightly larger hook if necessary.
My coaster is wavy.
Too many increases can cause the edge to ruffle. Check that you haven’t accidentally worked extra stitches.
My pumpkin doesn’t look like a pumpkin.
The shaping around the outer edge is important. Make sure the slip stitches and hdc stitches are placed correctly.
My stem looks too straight.
Try adjusting the tension on the 2-sc increases to create a gentle curve.
Frequently Asked Questions
Can I use a different yarn?
Yes. Cotton yarn is especially suitable for a coaster, but you can experiment with other yarns for decorative pumpkins.
What colors can I use?
Orange is traditional, but golden yellow, cream, green, brown, earthy red and other fall shades can look beautiful.
Can I make the pumpkin bigger?
Yes. You can add another increase round before the final shaping round. Just remember that adding a round changes the stitch count, so the final shaping needs to be adjusted accordingly.
Can I sell finished pumpkin coasters made from this pattern?
If you are using a pattern that allows finished items to be sold, you can generally sell your handmade finished pieces. Check the specific designer’s terms if this is someone else’s pattern. Selling your finished crochet work is different from selling or redistributing the written pattern itself.
Is this pattern beginner-friendly?
The basic crochet techniques are beginner-friendly, including chains, double crochet, half double crochet, single crochet and slip stitches. The shaping may take a little practice if you’re new to crochet.
Final Thoughts
This little crochet pumpkin coaster is a quick project that can make your home feel ready for fall. I especially like that you can change the colors to match your table setting instead of making every pumpkin orange.
Make one for your coffee cup, or crochet a whole set for your autumn and Thanksgiving table. 🍂🎃
Happy crocheting!
Related Crochet Posts You May Also Like
https://heartmadehabbits.com/2026/09/crochet-pumpkin-pie-coaster/
https://heartmadehabbits.com/2026/09/easy-crochet-pumpkin-pattern/
https://heartmadehabbits.com/2026/08/easy-5-petal-crochet-flower-free-pattern-video-tutorial/